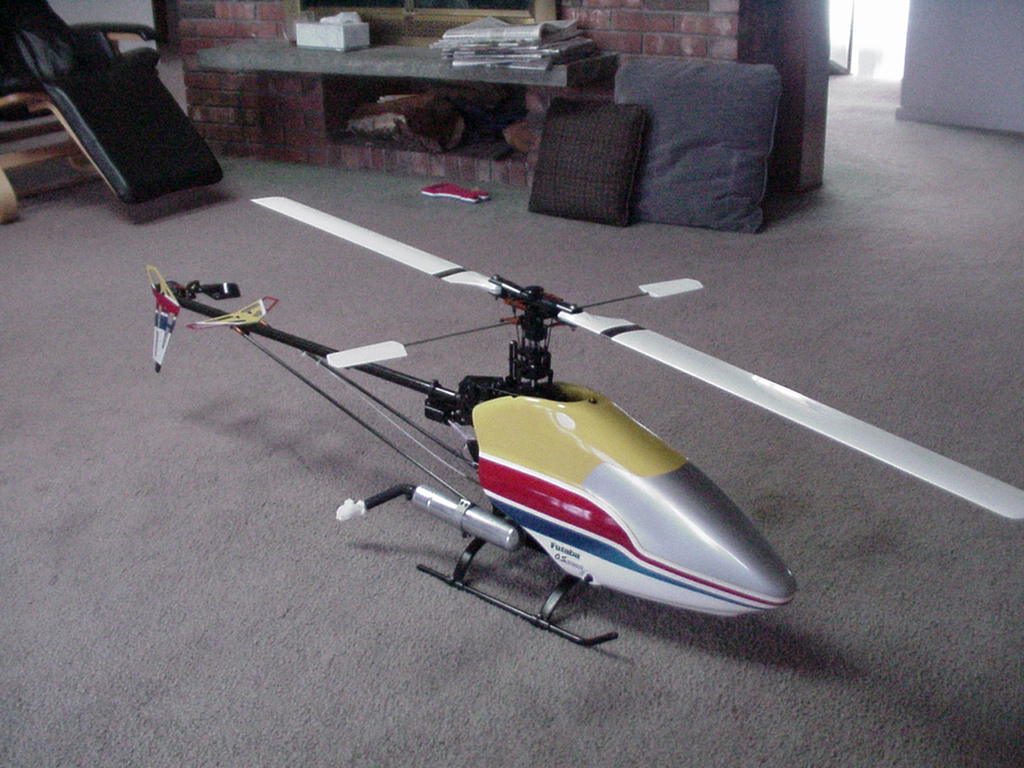
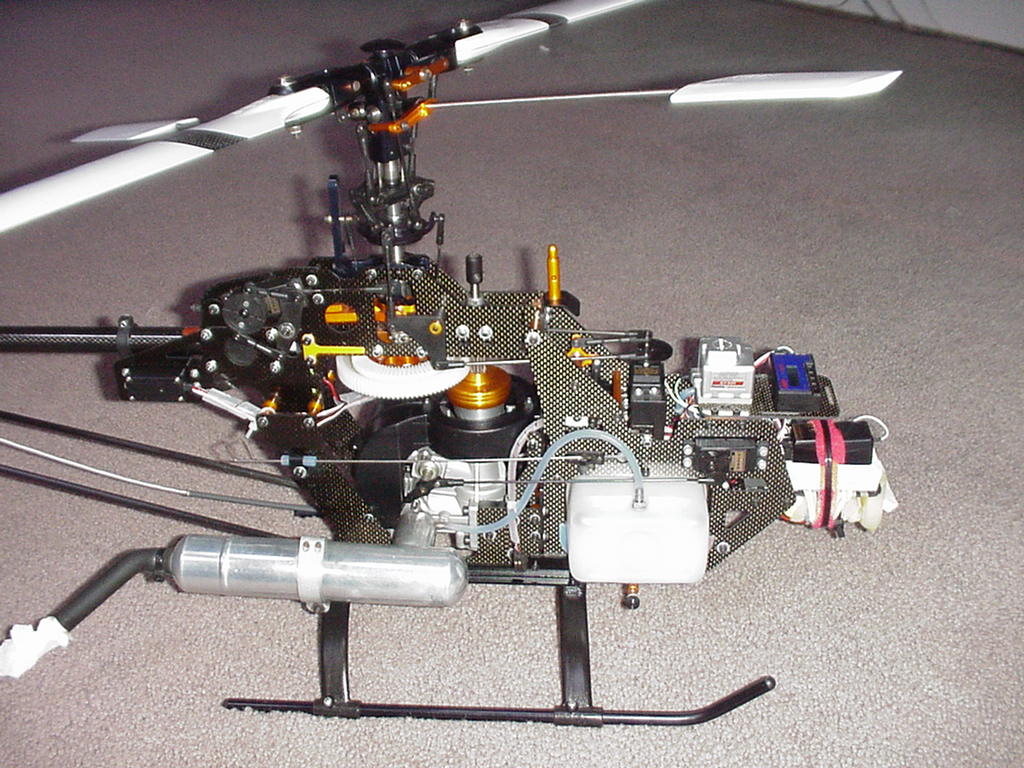
| I know the canopy is not the greatest, but I liked it better than the one that came with the SE when I bought it. So, I included that one with the old 1004 graphite X-cell when I sold it. |
|
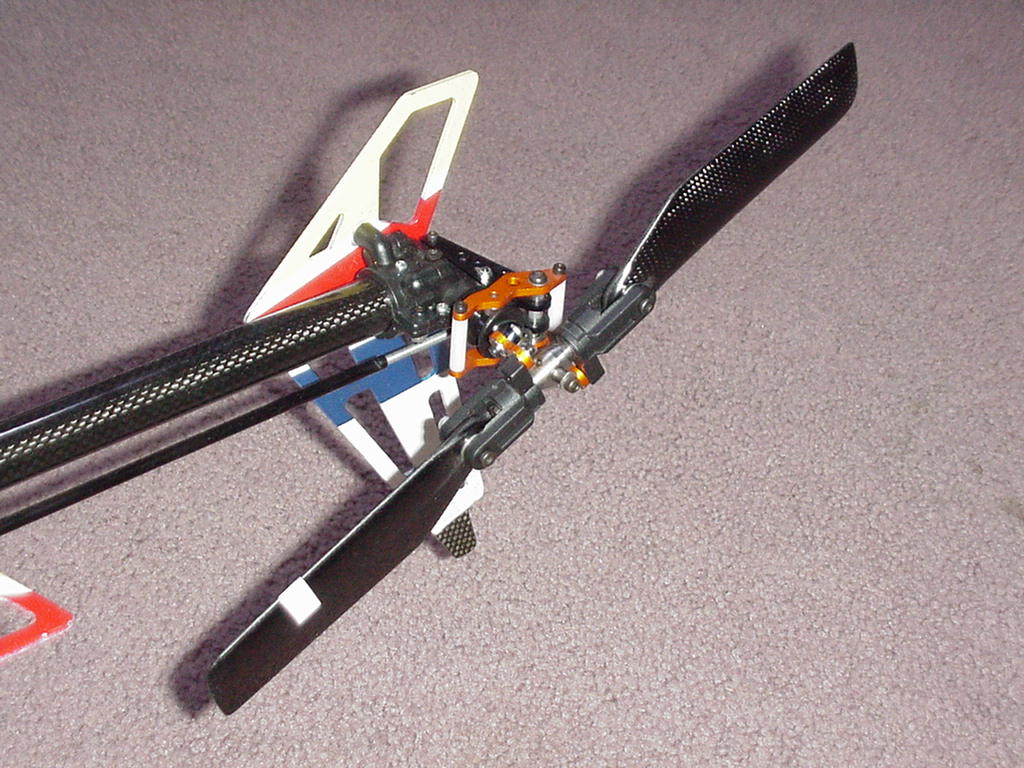
| Affectionately called the "tail from hell" by one of my flying buddies, this Pro tail is regarded as one of the best tail mechanisms on the market. Even Curtis adapted one to his Vigor for a while. The tailblades are MAH 105mm. |
|
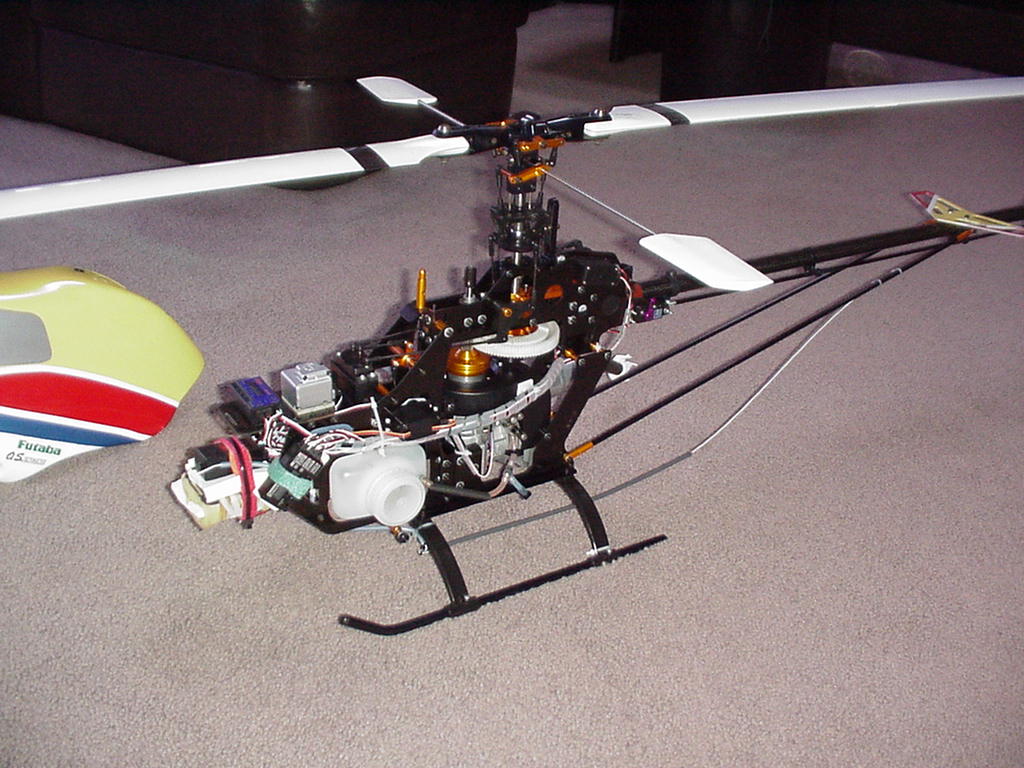
| Basic left side shot shows my radio gear installation. I like having the gyro up front instead of on a rear tray like on my old xcell. There is plenty of room for everything on the two carbon shelves. |
|
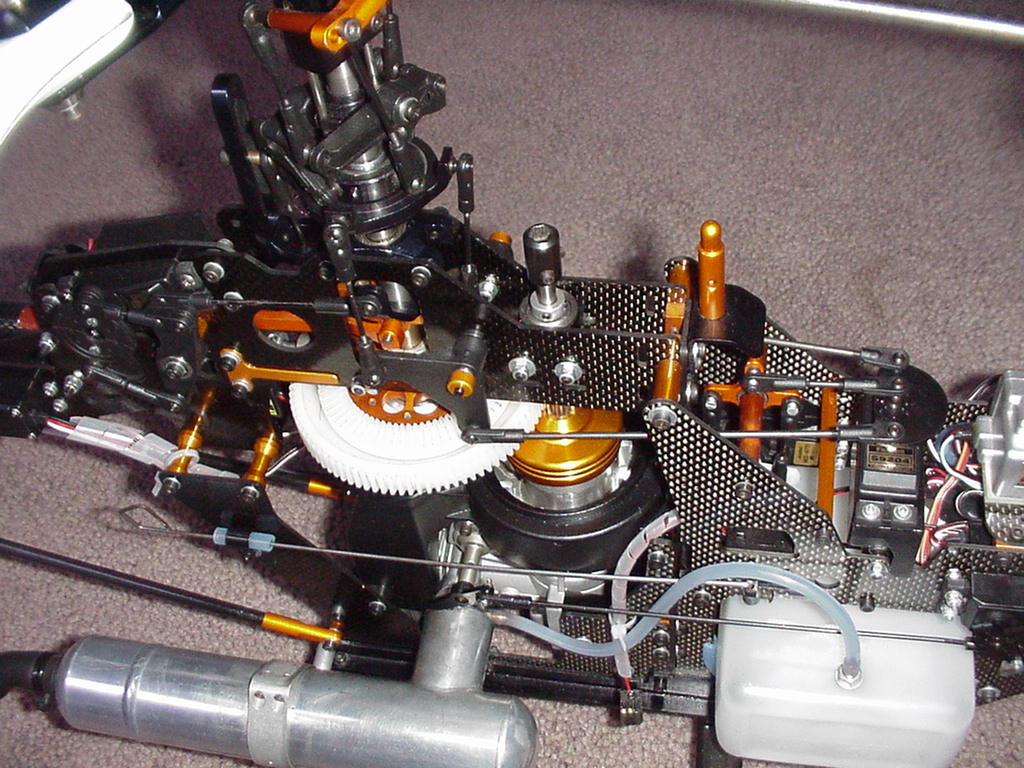
| The throttle pushrod and servo arrangement on the SE servo tray is a huge improvement over the plastic servo tray, it is a straight shot to the carb and the servo arm does not rub on the fuel tank like before. |
|
| Note the custom switch pull rod just above the throttle pushrod, it's almost impossible to reach the switch when the canopy is on if you don't have one of these. |
|
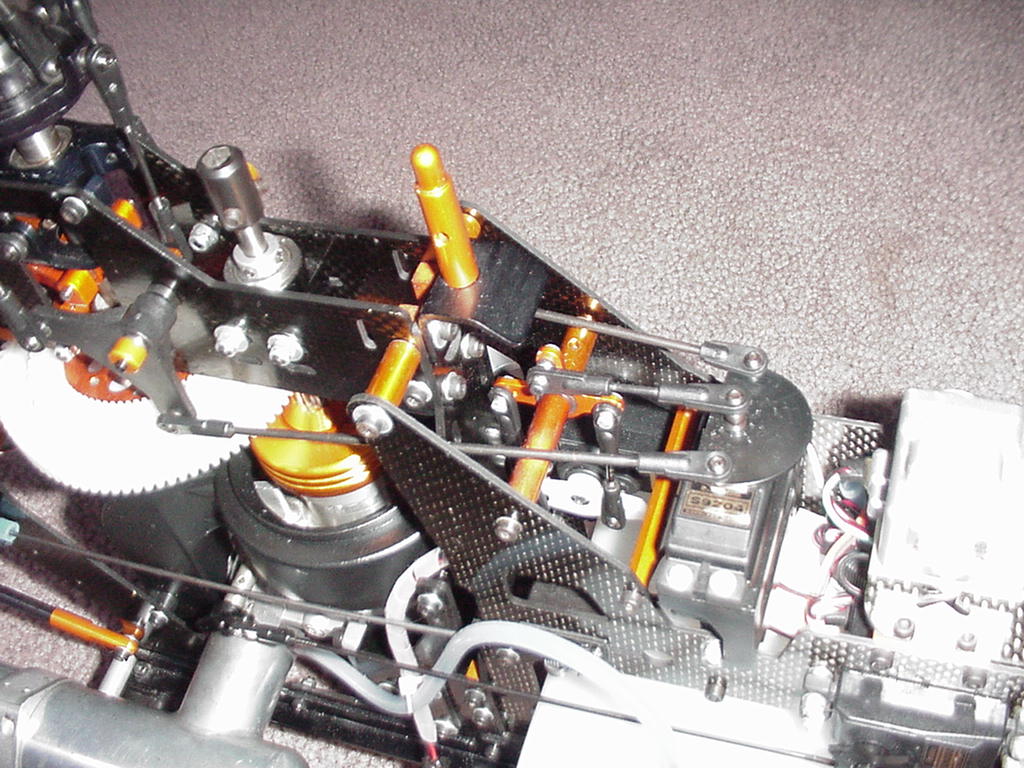
| The servo labeled 9204 is my aileron servo. It is connected to the JR 4721 collective servo which is buried down in the frames. Although difficult to install, this collective arrangement with the push pull bellcranks is in my opinion about the most direct setup possible for a non CCPM helicopter. The aileron rods are much beefier and also straight compared to the ones found on the plastic XL servo tray. |
|
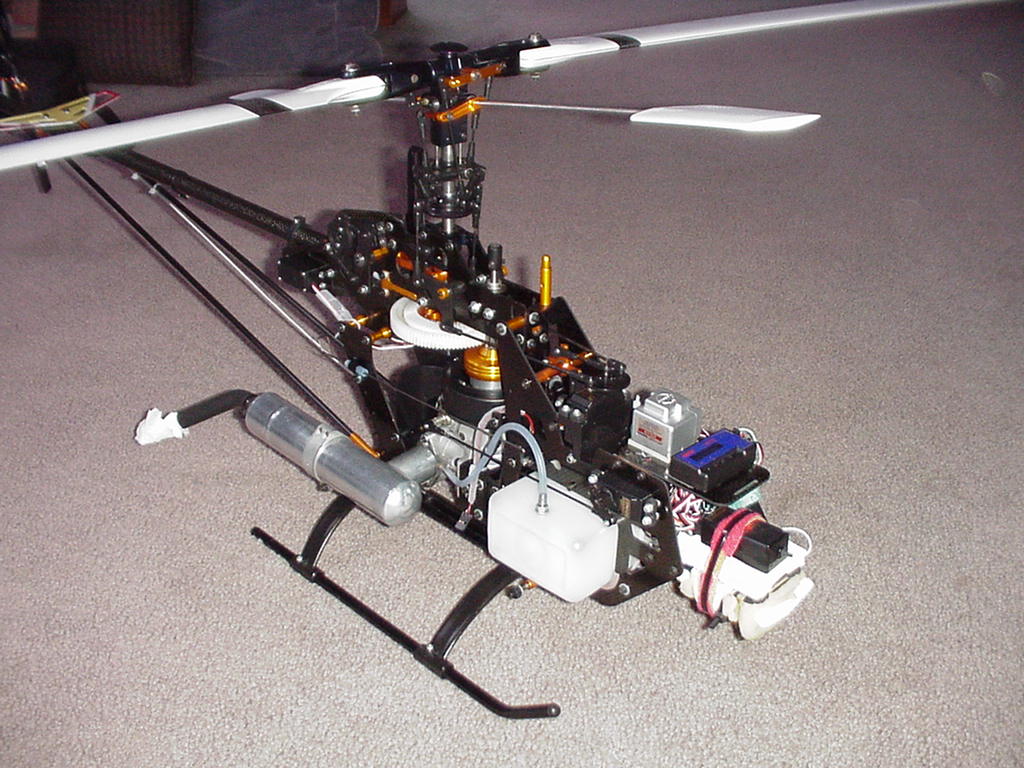
| Aluminum cooling fan, split gear driven tail, push-pull everything. I use the hex adapter for starting since that is what my Raptor also uses, although a one way bearing is required in the start shaft for the X-cell. |
|
![]()